Skip to content
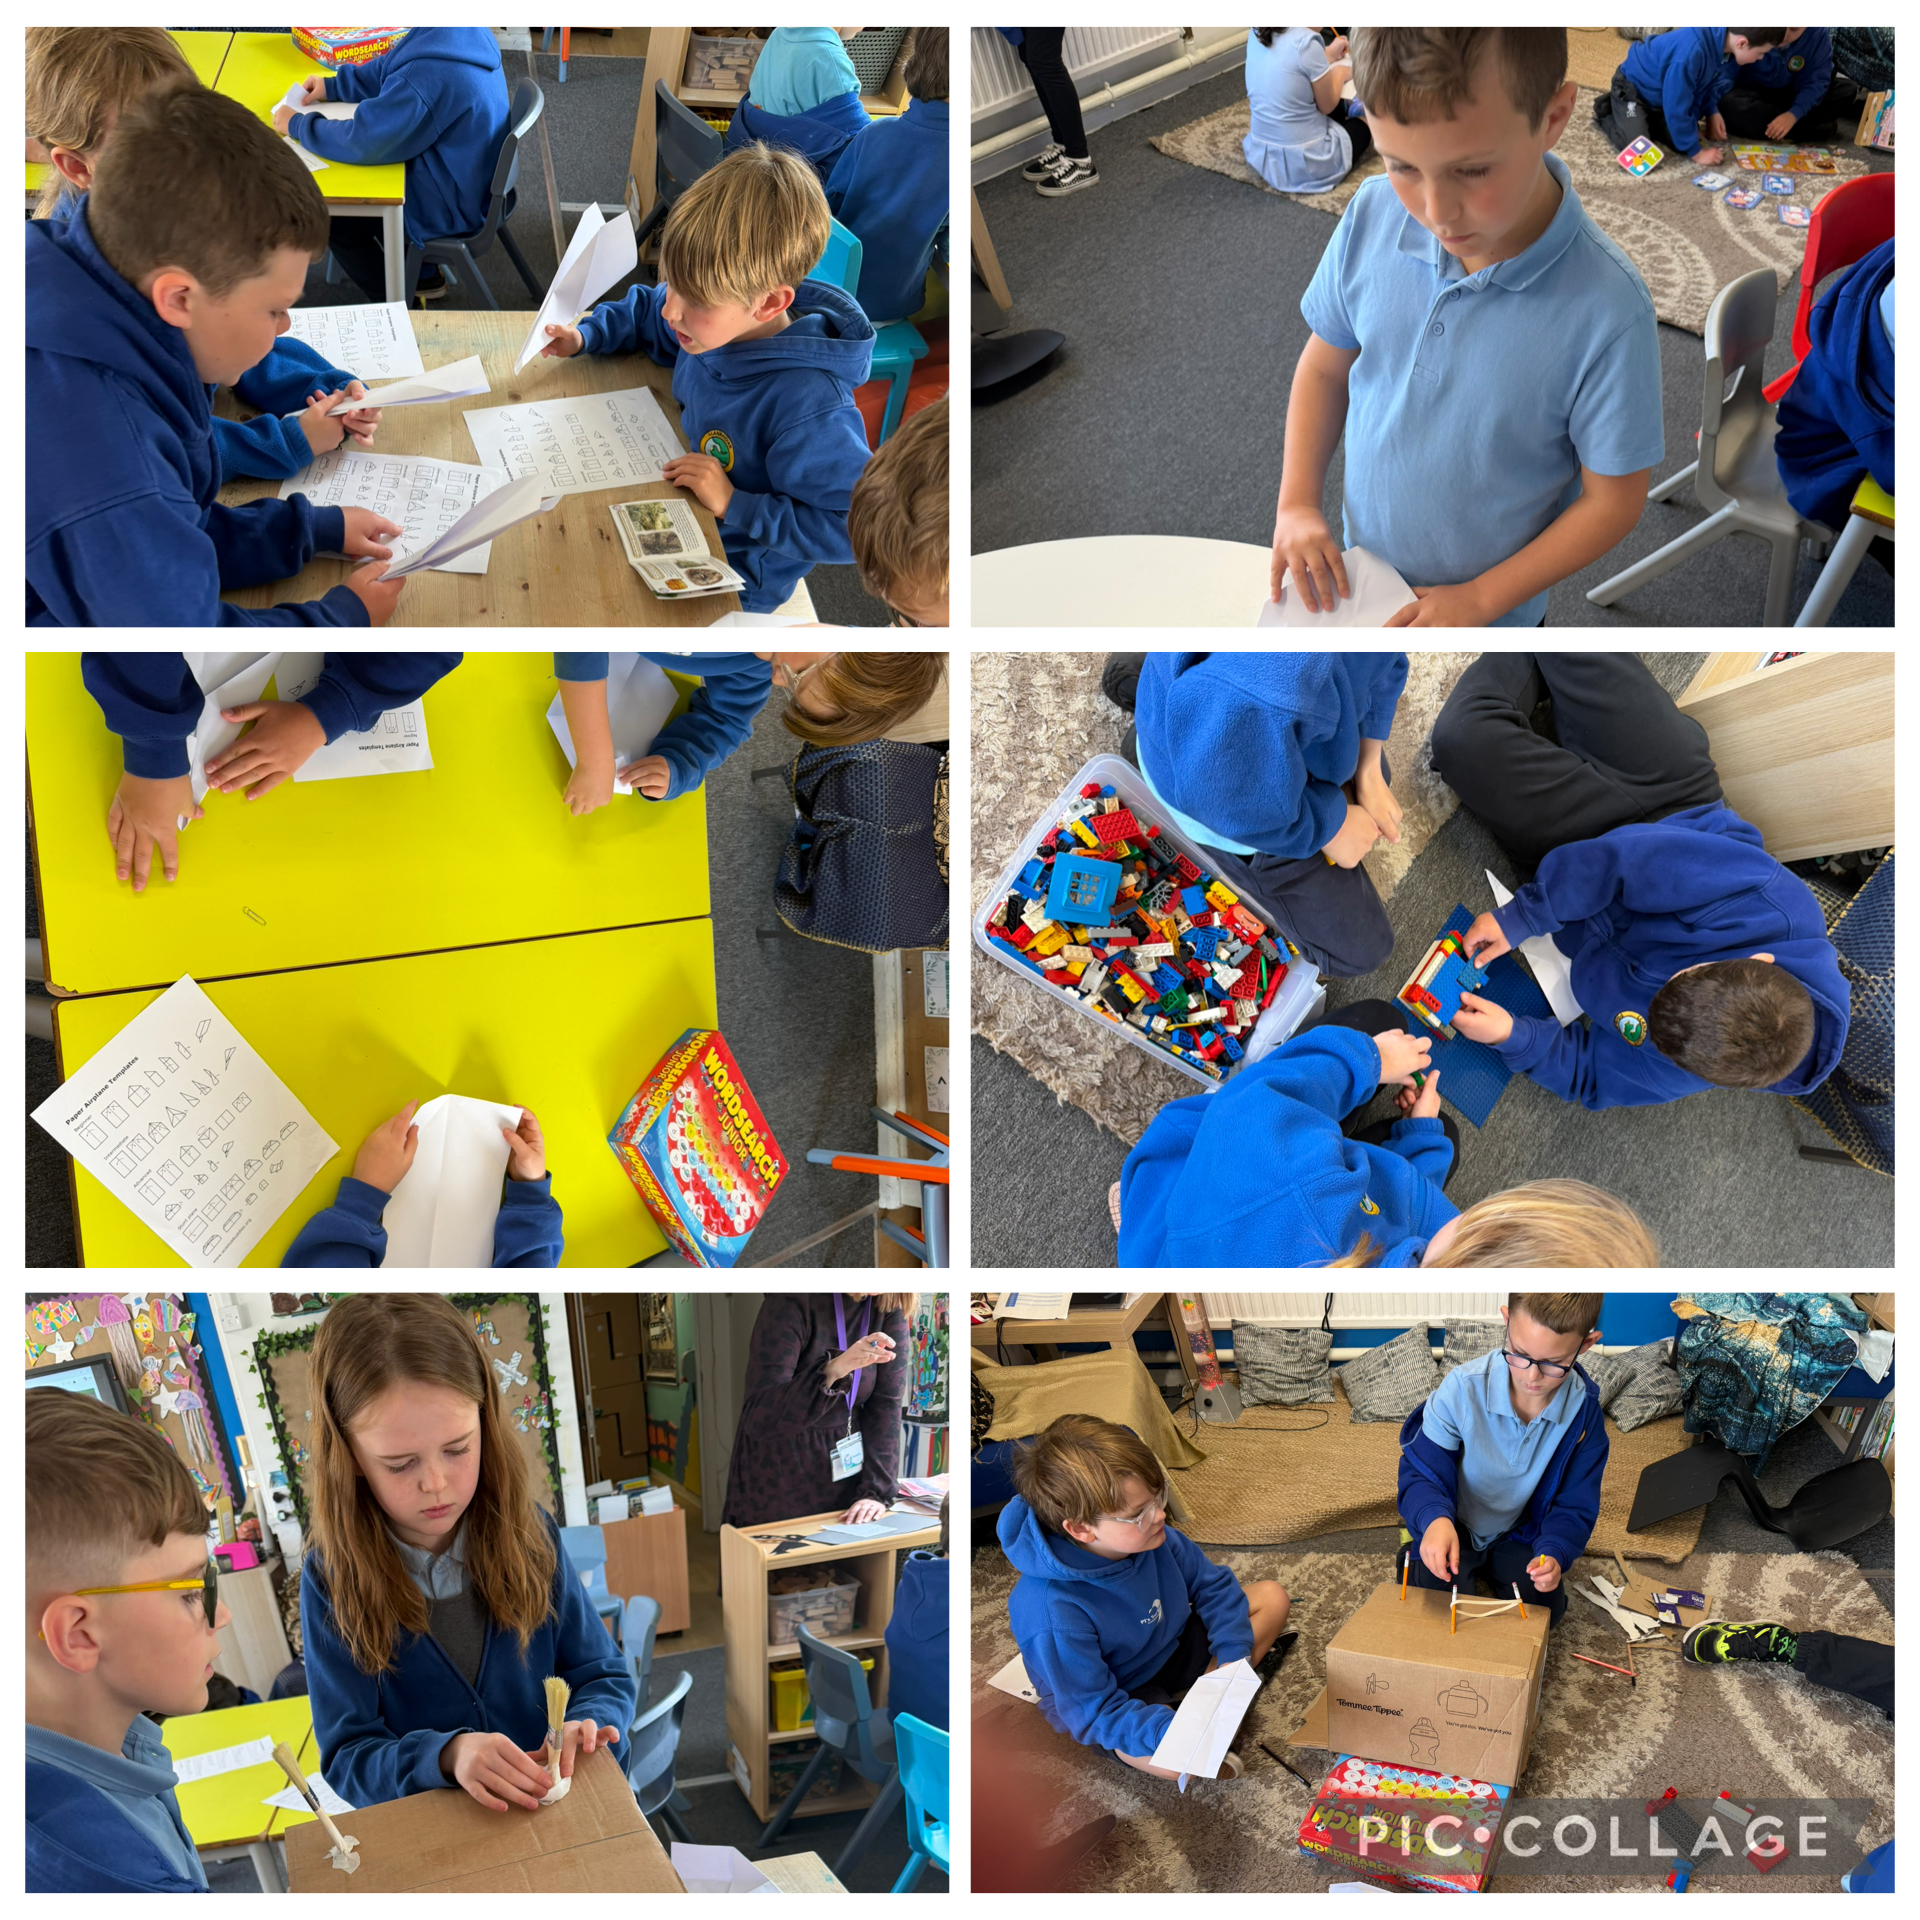
  • Paper Aeroplane Launcher

    You have not allowed cookies and this content may contain cookies.

    If you would like to view this content please

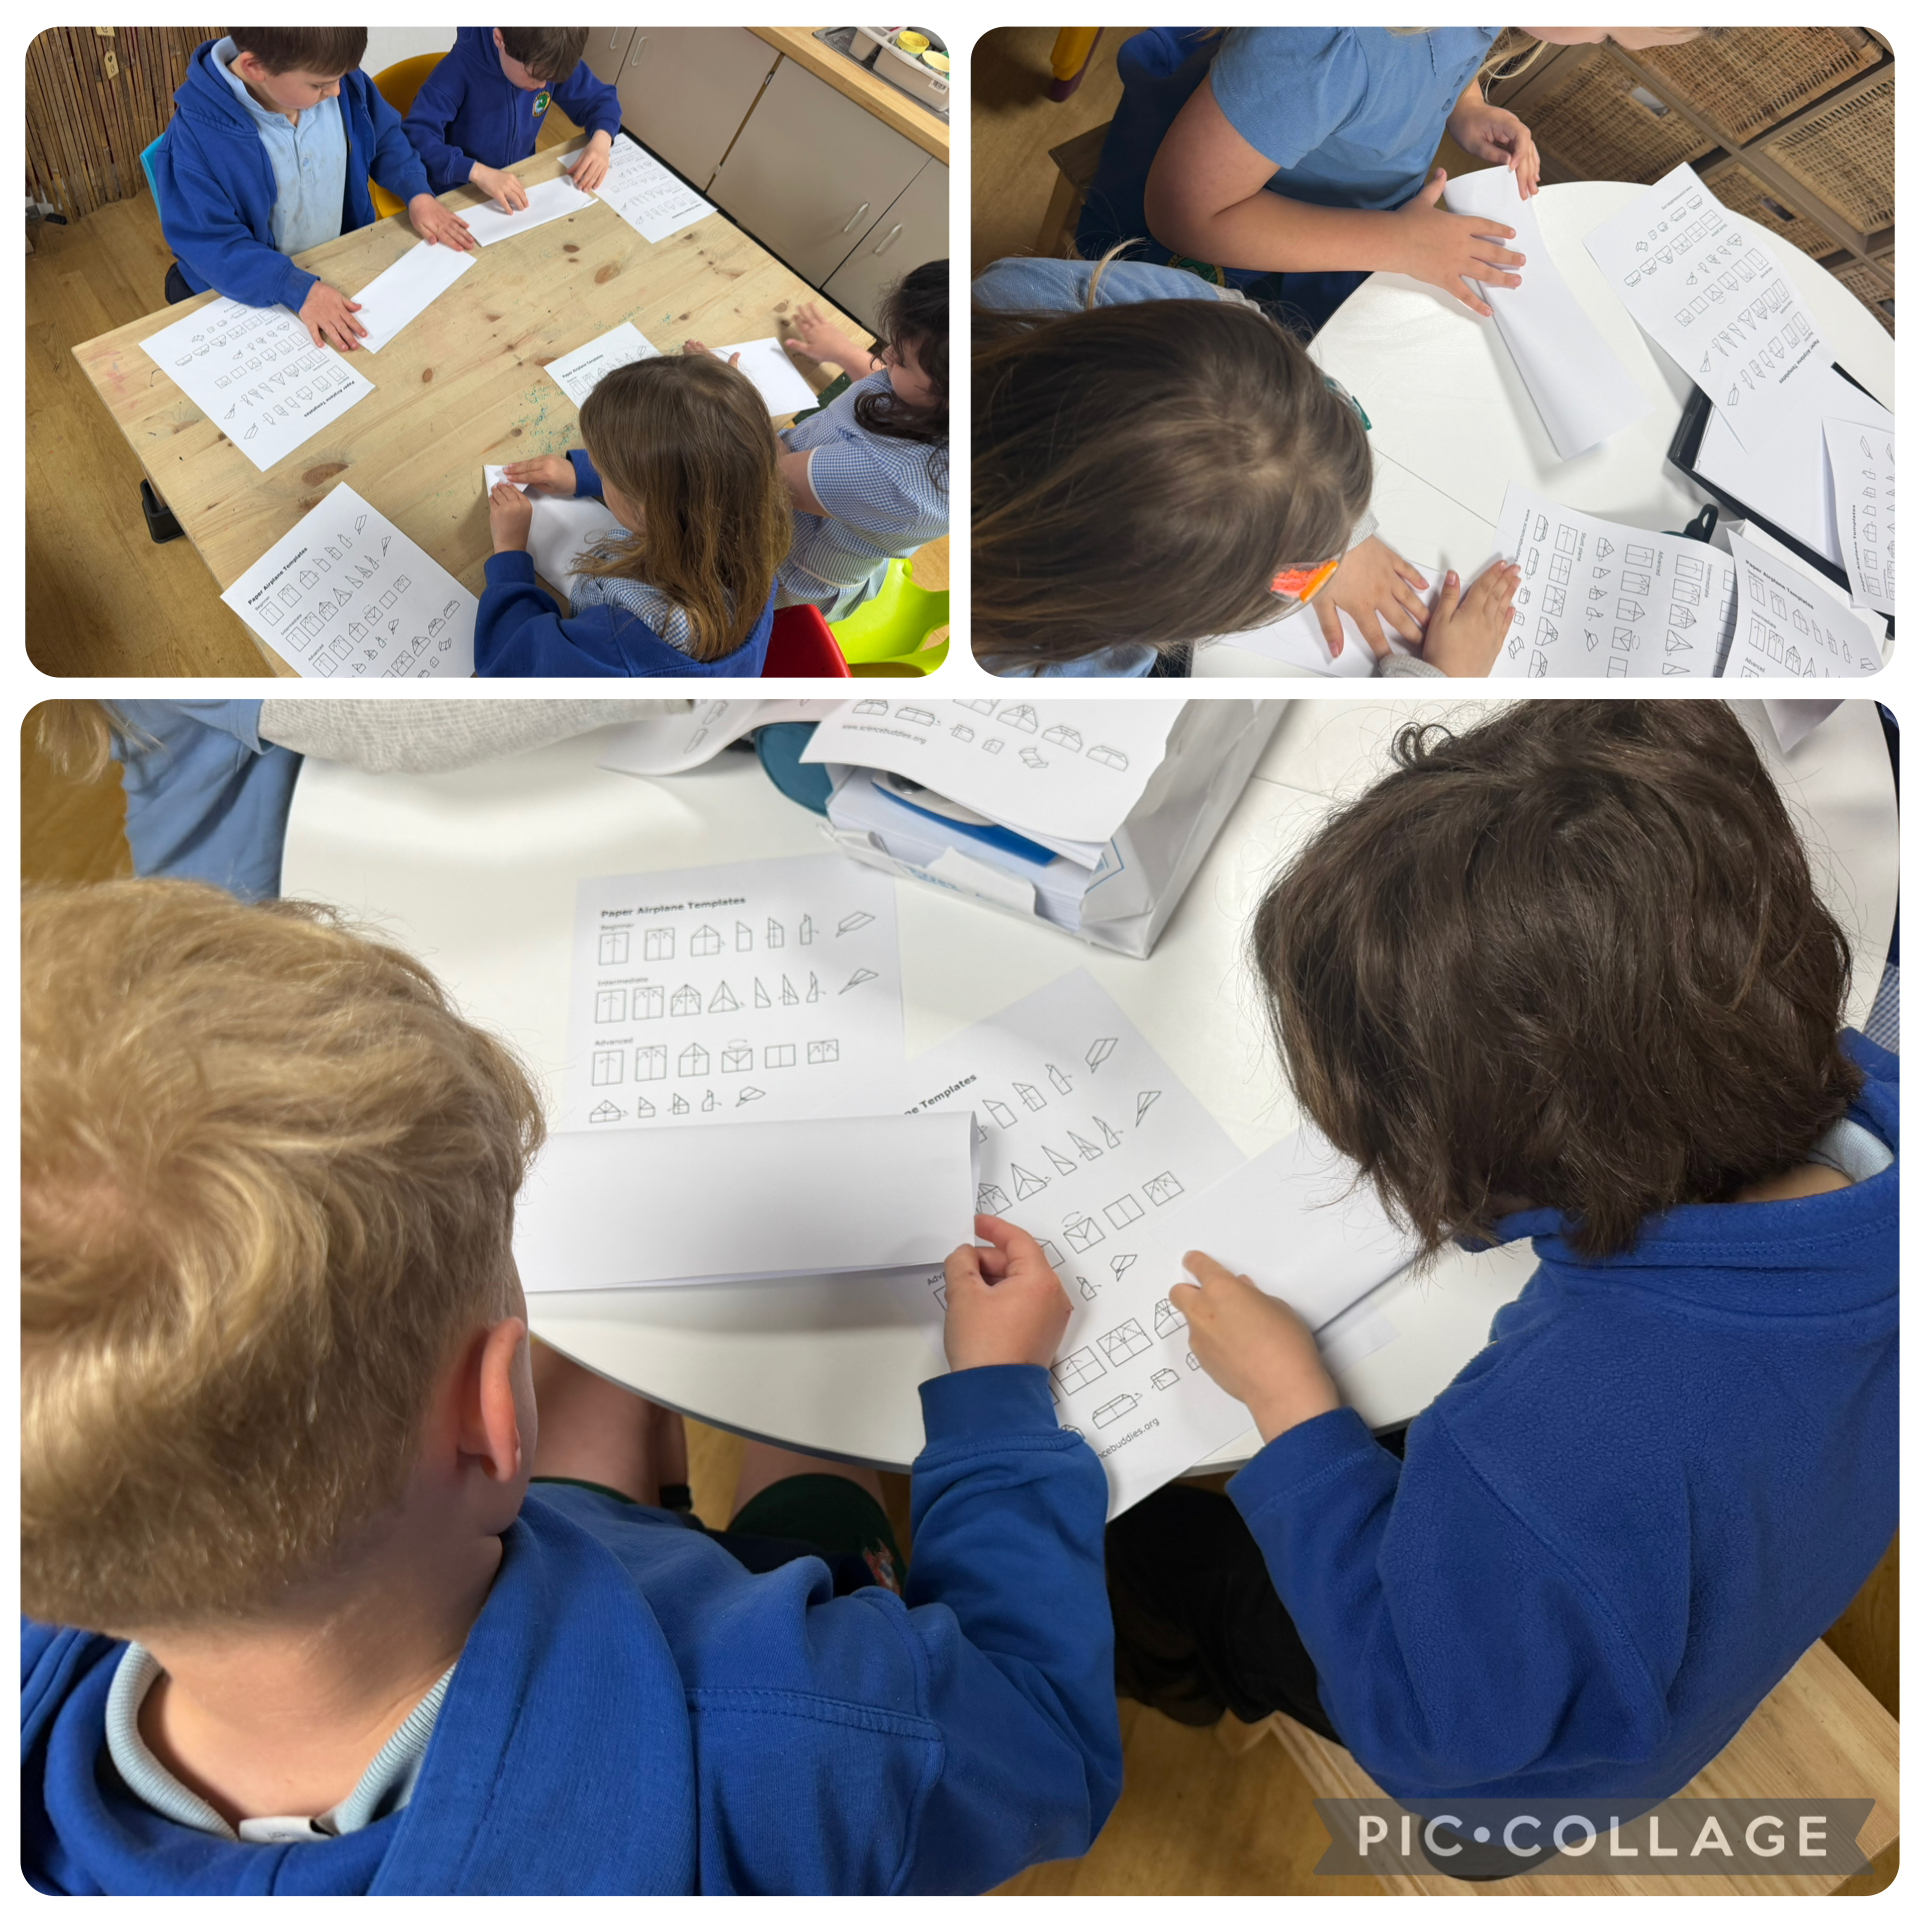
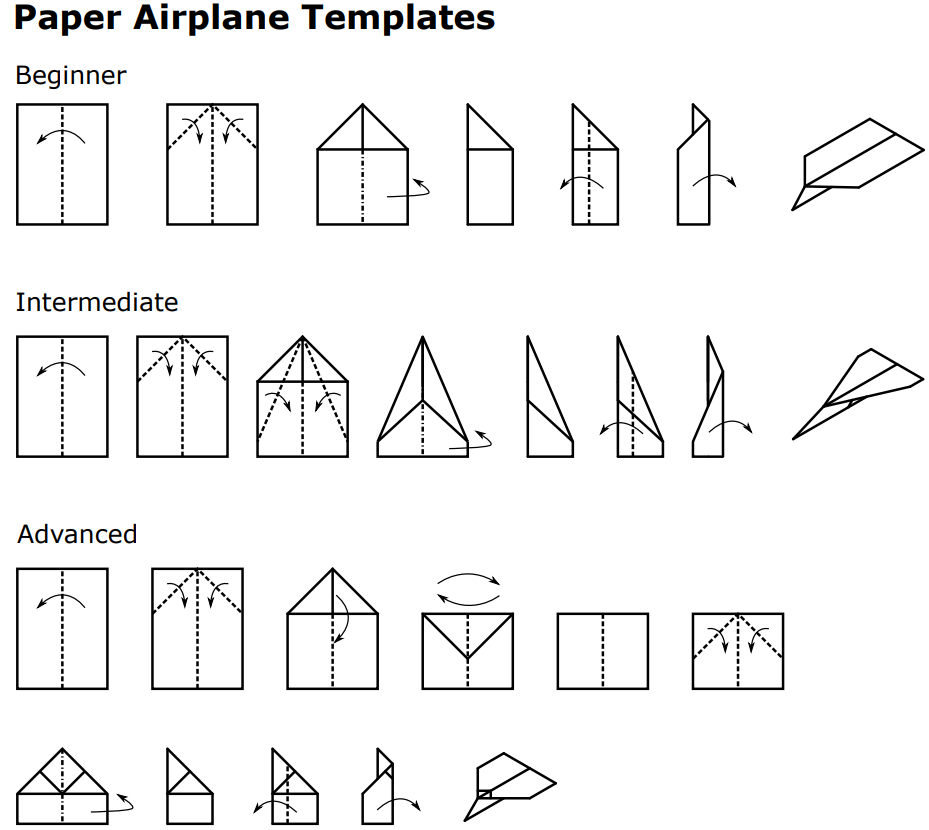
    Can you make a paper aeroplane? If you can't, then here are some instructions to help. Choose a difficulty and have a go at making one.

    Here's a challenge: Try throwing a paper aeroplane by moving just your wrist (don't move your elbow or shoulder). It's hard, isn't it? How could you get a paper airplane to fly far if you can use only a short distance to launch it? Try this activity to find out!

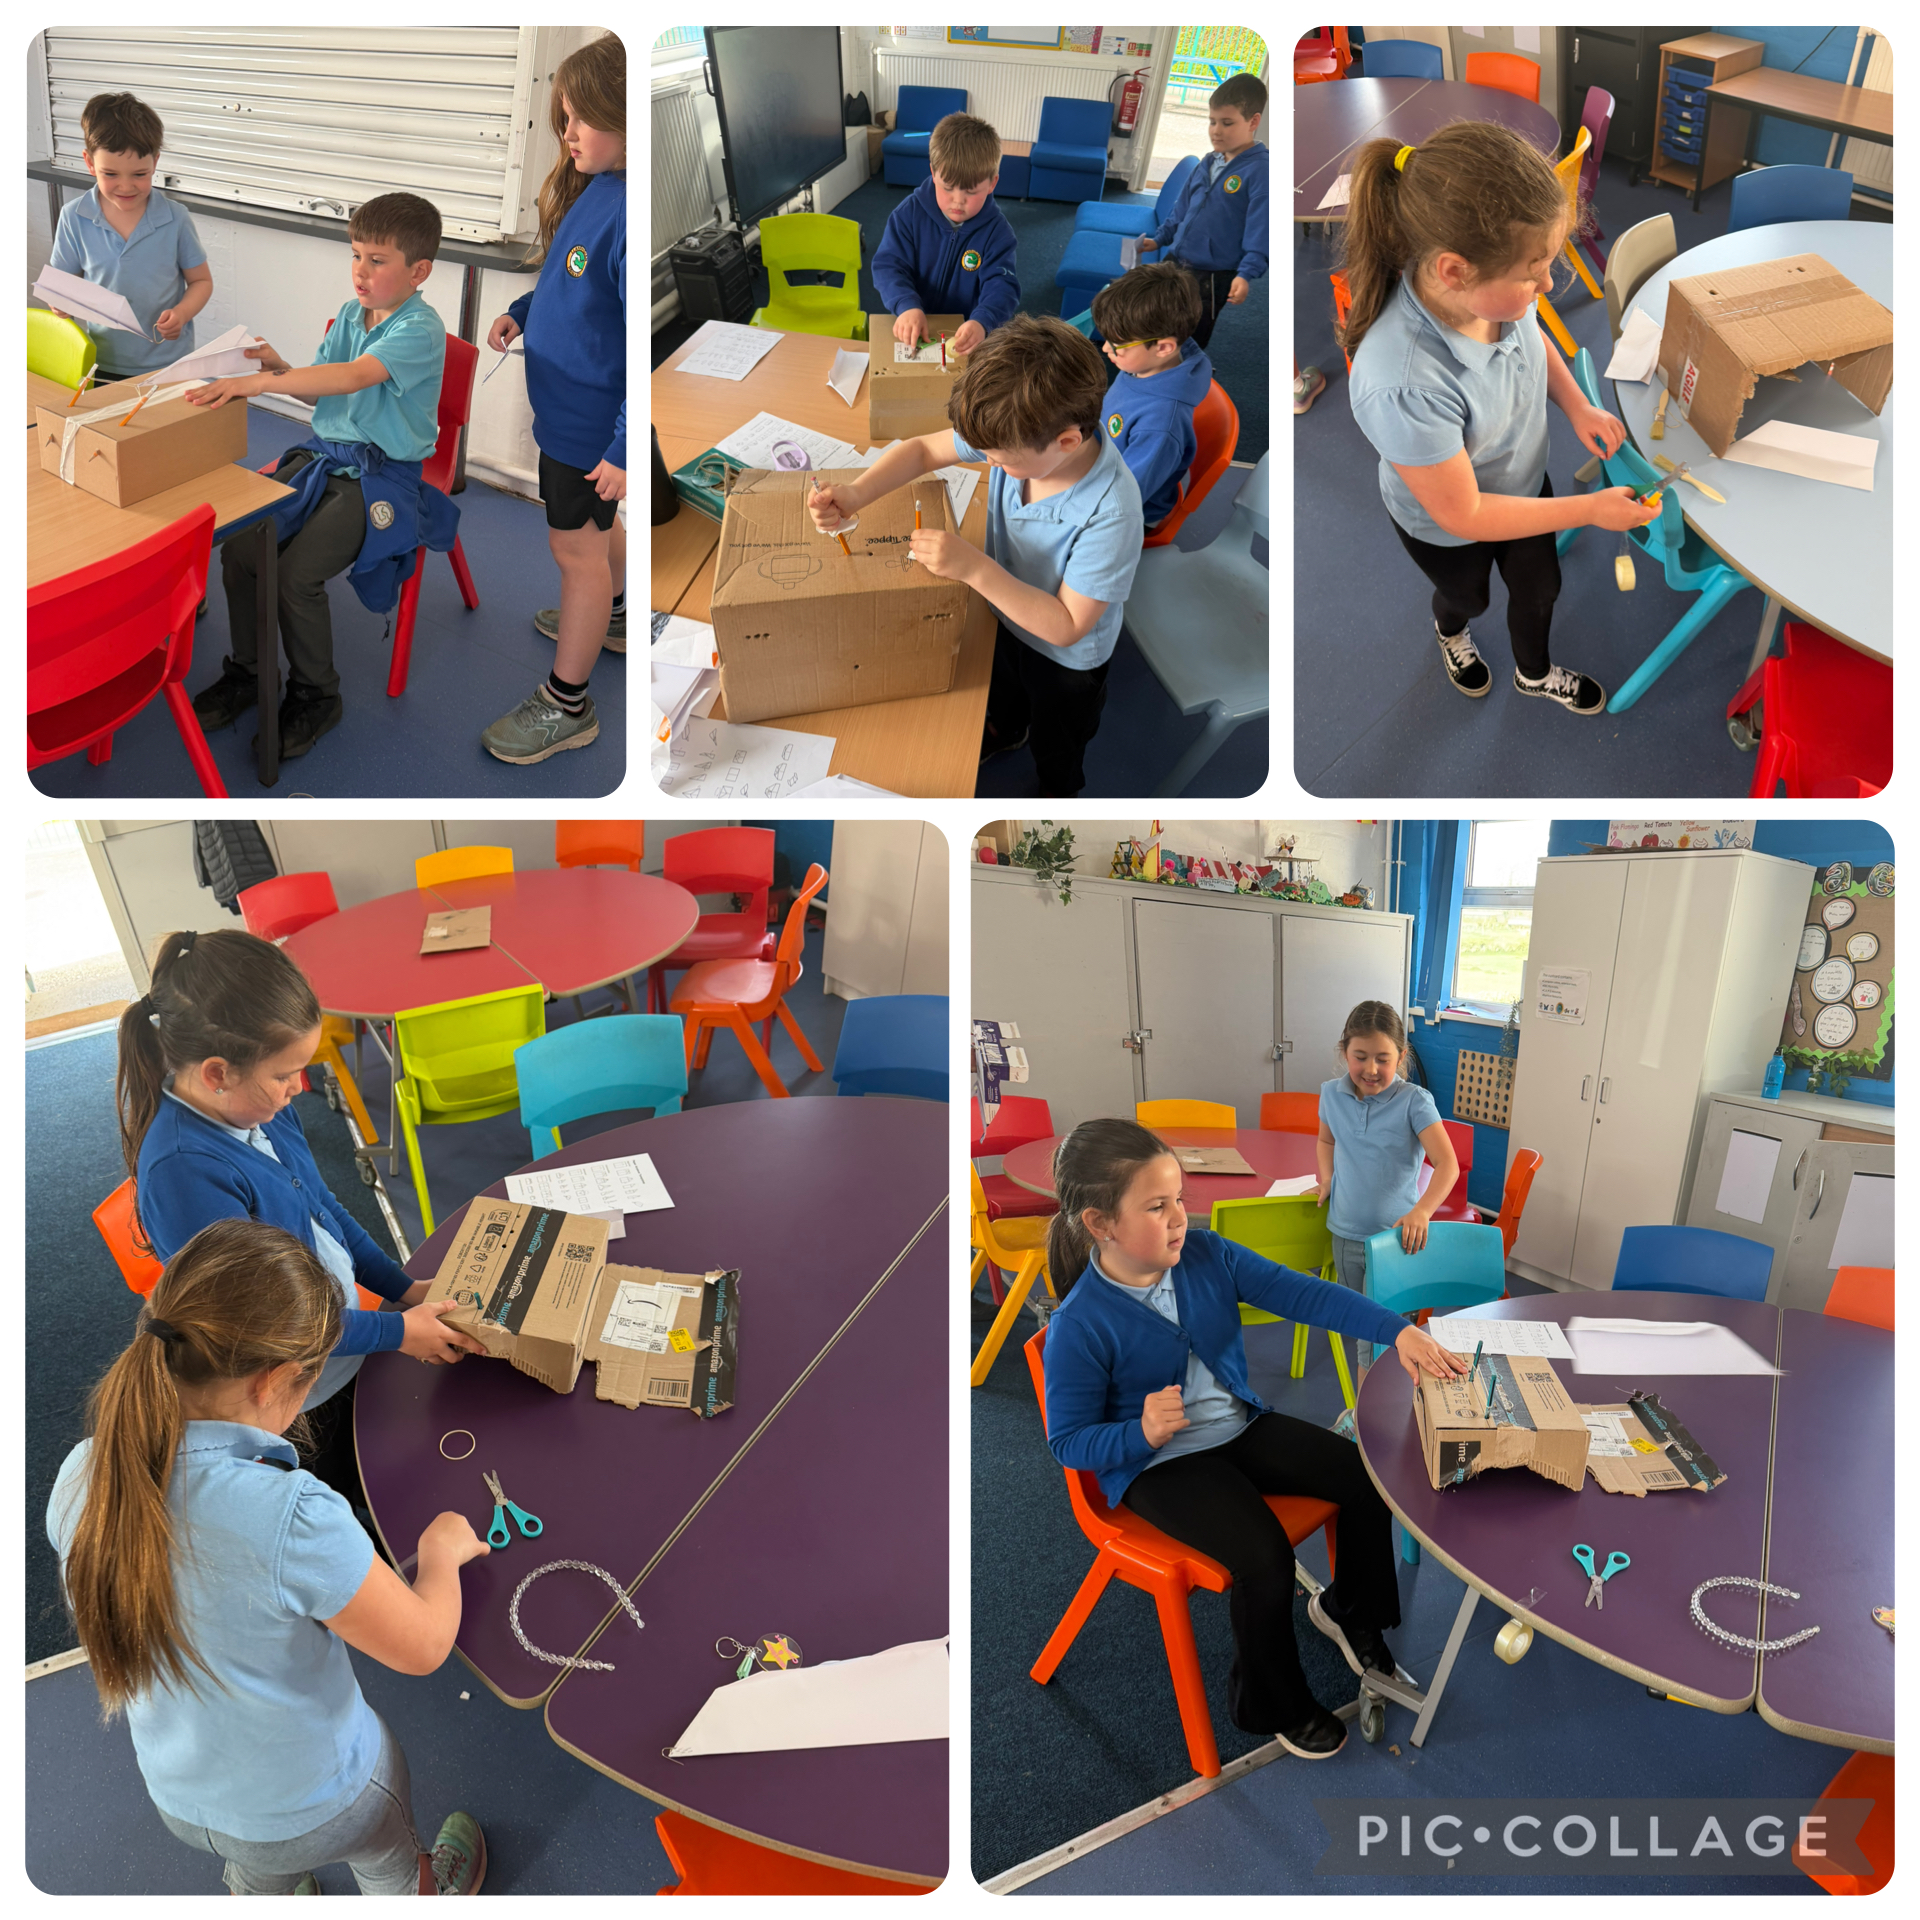
    Let's build aeroplane launchers! You can use one of three materials; Lego, cardboard or wood.

    Question

    Which material makes the best launcher for a paper aeroplane?

    Equipment/Resource List

    • Paper

    • Rubber bands

    • Pen or pencil

    • Paper clips

    • Tape or stapler

    • Construction materials to build a paper airplane launcher. You can use whatever materials you have available. Examples include cardboard, building toys such as LEGO® or K'NEX®, or wood. 

    • Open area to launch paper airplanes (without wind or strong drafts)

    Instructions

    1. Build several paper aeroplanes to test. Paper aeroplanes can get bent or destroyed easily, it's a good idea to build more than one. Ensure that they are all built the same for this activity.

    2. Tape or staple a paper clip to the nose of each paper aeroplanes. The outer straight part of the paper clip should point backward parallel to the bottom of the plane, so it can serve as a hook to attach to the rubber band. There will be some pull on the hook, so make sure it's secure.

    3. Practice throwing your paper aeroplanesusing your entire arm. How far can you throw your plane? How much do you move your arm when you throw it?

    4. Now try to throw your aeroplanes only using your wrist. Keep your shoulder and elbow still. How far can you throw the plane now?

    5. Next try launching your airplane using a very simple "catapult." Hook one end of a rubber band around the end of a pencil (such as around the metal ring by the eraser). Hook the paper clip on the nose of a plane around the other end of the rubber band, and pull it back to stretch the rubber band. Aim the plane forward and release. How far does the plane go now? How far did you have to stretch the rubber band compared to how far you moved your arm or wrist?

    6. Now use the engineering design process to build a more permanent launcher for your airplane. Think about the criteria for your design. You will need to build a device to support the rubber band. It will need to be strong enough that it does not collapse when you pull back on the rubber band. You will also need to make sure the paper airplane does not get caught or snagged on the device when you launch it. Draw a few sketches of your design ideas, and pick one to build.

    7. Build a prototype of your design. You might find that things don't fit together like you thought they would, and you need to change your design. That's okay! This picture shows three different designs built with different materials.

    8. Test your aeroplaneslauncher. It probably won't work perfectly on the first try. What changes can you make to your design to make it better?

    9. Keep improving your launcher and testing it again (and, if necessary, again). This process is called iteration, and designers and engineers use it often in their work. How does the plane's flight distance compare to when you threw with your arm or with your wrist?